Wednesday, May 8, 2019

Quilt Show Part 2

I knew I’d have too many quilt pictures to share in one post, so this is the second (and final) installment of the 2019 UQSM (Utah Quilt and Sewing Marketplace) quilt pictures. It was hard to narrow down which ones to share, but I’ve tried to include a variety. One category that I did not photograph were the traditional quilts done with Civil War report fabrics. They just don’t speak to me, although I do appreciate the workmanship that goes into them. I photographed but am not sharing some of the Special Exhibit quilts. Just so much - all lovely in their own right.

So let’s get to the business at hand. 

Another Youth (age 18 and under) quilt winner, although you can see I cut off the credits.


A couple modern quilts I liked:


A great improv quilt using solids.


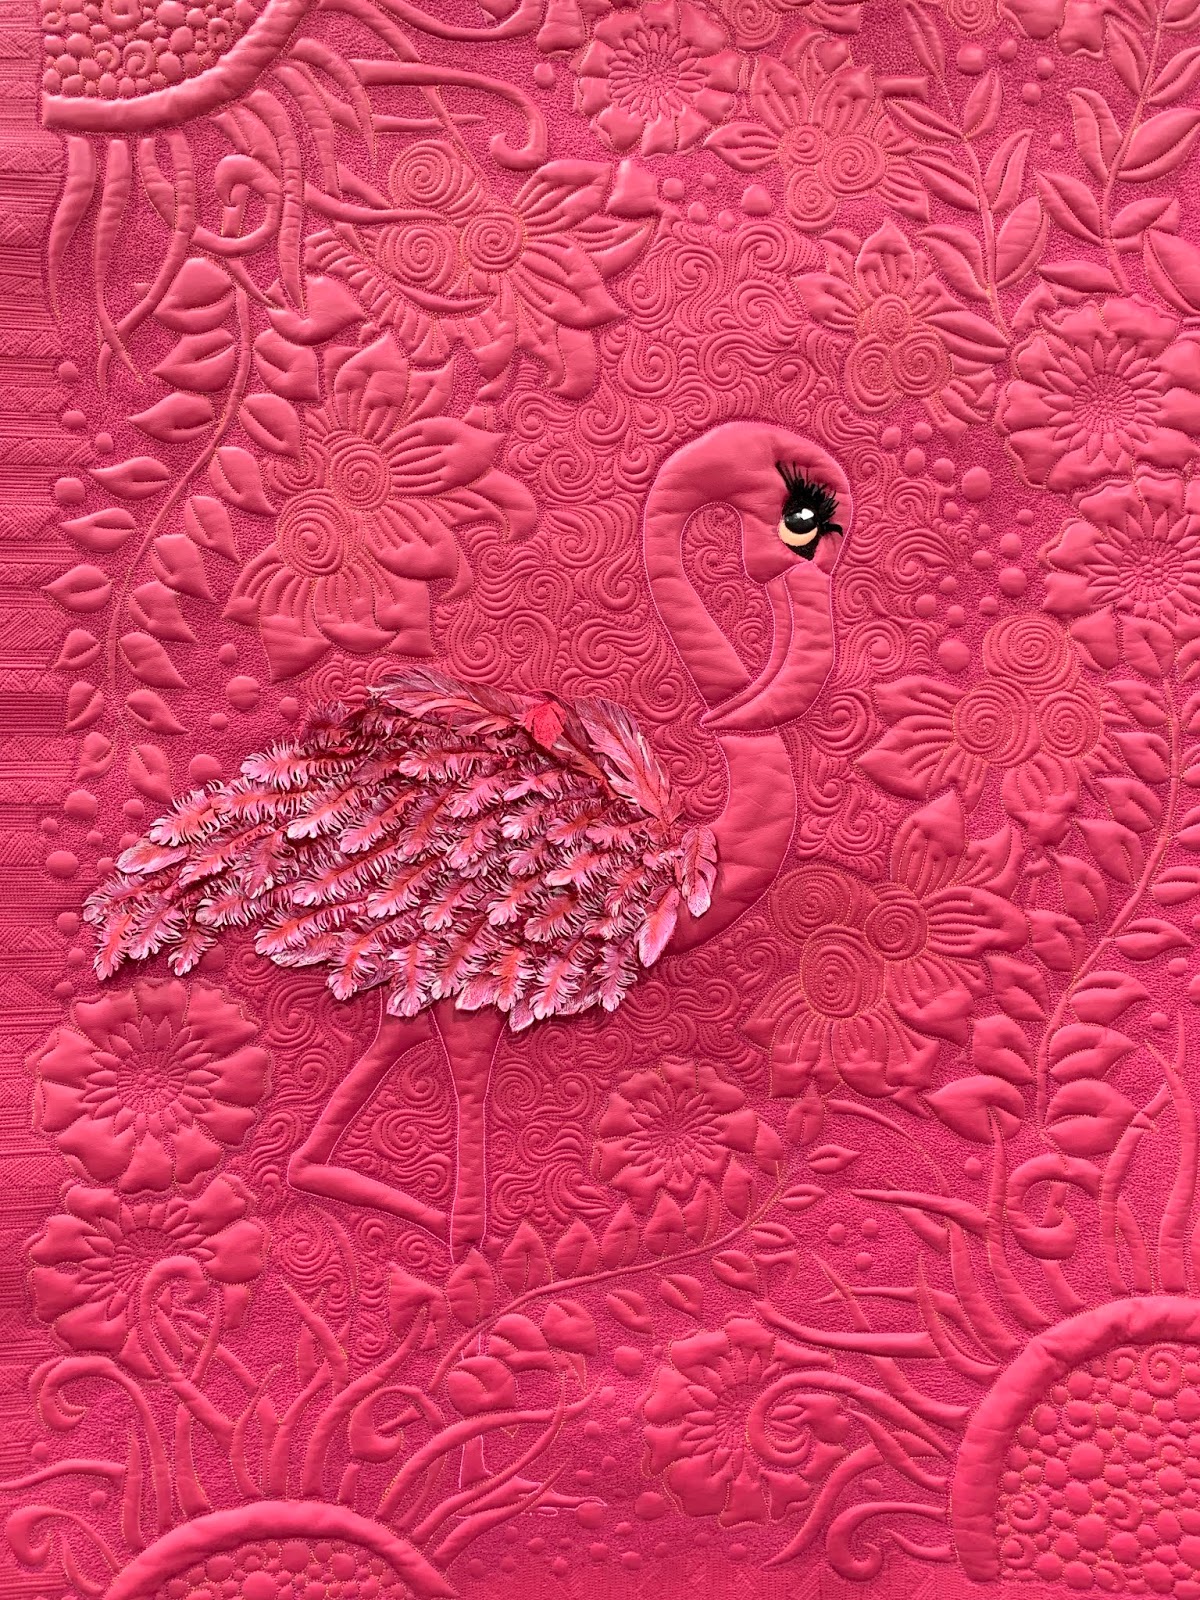
The detail on this one was exquisite. 


There was an exhibit of Hot and Cold quilts. These were my favorites:


For this next quilt series, I am putting the credits first so you can read about (or not) how this series of quilts came about through the Social Justice Sewing Academy. There was so many wall quilts, but this stood out to me.


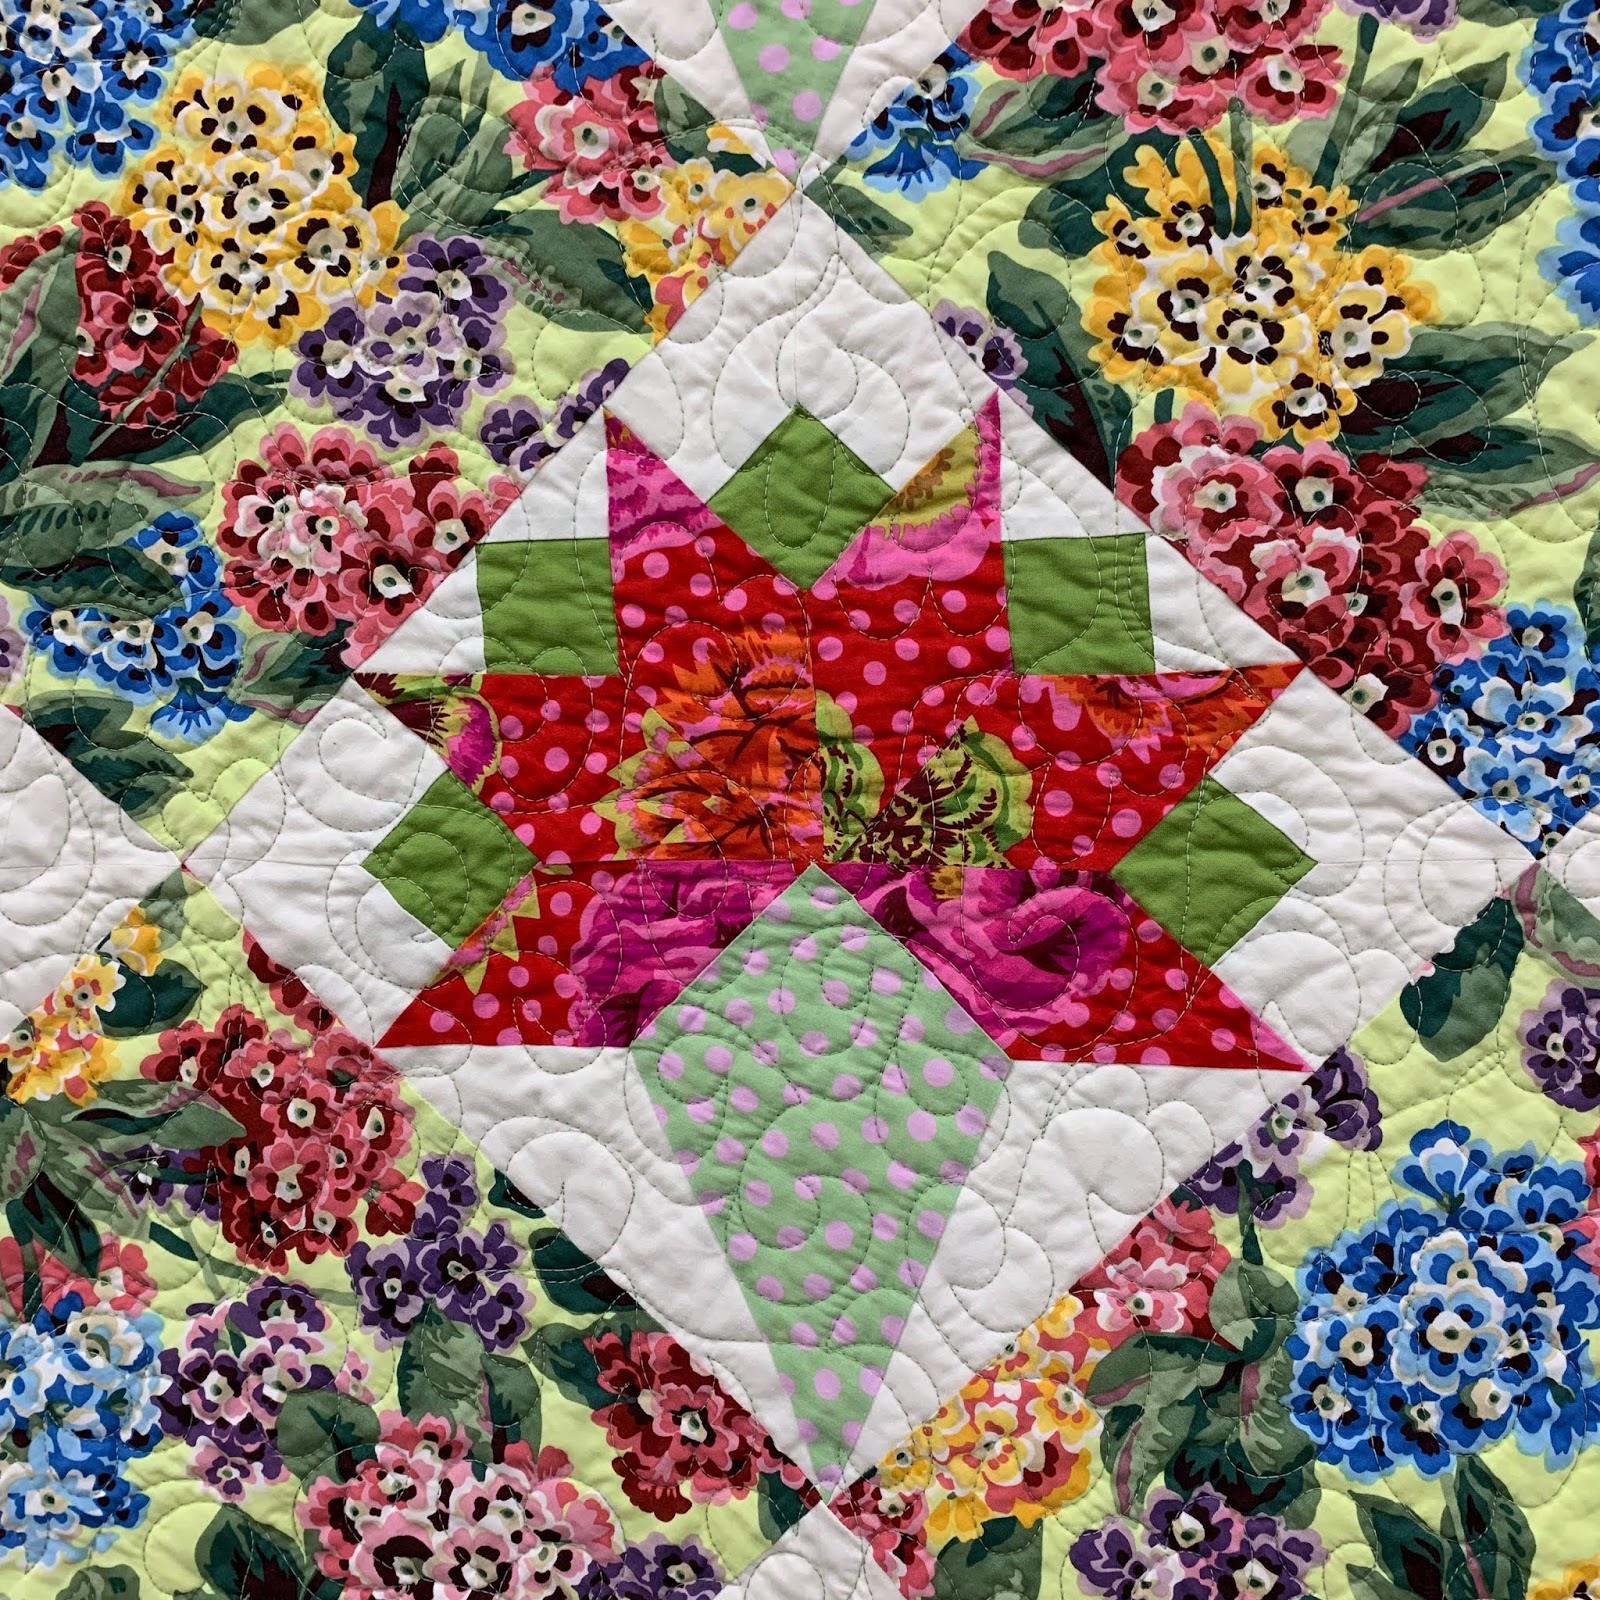
And last but not least, this Bride’s Bouquet quilt. This is a bucket list quilt of mine. I want to use a Tamara Kate floral for the alternating blocks and one of her geometrics for the bouquet bases. I have to find just the right ones, though. Her new line, ABLOOM, is beautiful and is due out in stores in the USA in June. That may be the one!


I hope you enjoyed the quilt show!

Tomorrow I’ll have some pictures of my meeting today with Emily Bailey of Aunt Em’s Scrapbag blog. She coordinates Quilty Hugs for Happy Chemo, one of the Hands2Help charities. She’s an amazing woman with super talent and a generous heart.

Tuesday, May 7, 2019

UQSM Quilt Show - Utah Quilt and Sewing Marketplace

The annual UQSM show was held from May 2-4, plus on May 1 for some of the classes. As usual, Cousin Kim and I attended on Saturday. As well, I took a class on Tuesday the 2nd and then spent several hours there again going through the marketplace and looking leisurely at quilts.

The teacher of my class is Emily Taylor, who some of you may remember from her fabric designs for Riley Blake Company (Zombie Apocalypse and Zombie Love, Chillingsworth, Chatsworth, Verona, Pirate Mateys, and more). She was also the founder of Pattern Jam, a free online quilt design site, although not affiliated with it any longer. These days she’s a popular collage quilter, instructor and pattern designer. Her website is here. She’s got some beautiful quilts and patterns that I can recommend without reservation! Her process (there are two methods to choose from) is clever, and I wish I had taken a class from her before I made Groovy Guitars.

The class I took was Aviary Collage. This is Emily’s Aviary quilt, which was one of several of her collage quilts on exhibit. It was a fun class and I did learn a lot; Emily is a good teacher. I didn’t make much progress because I didn’t have the fabrics in the colors I wanted (although several fat quarters of batiks may have been purchased at the show. Heck, when they are 12/$20, how can you pass it by? I plan to do mine in shades of aqua, red-violet, purple, green, and possibly orange-gold. But that may change. I want to make it bright because our living room done in neutrals can take a punch of changing color in the wallhangings.
And then I bought another of Emily’s kits, because you know me and cactus quilts, LOL....


And now, would you like to see some of the quilts from the show? Of course you would, what a silly question! I'm going to show the credits/ribbons for each quilt after the quilt itself, unless there is a detail shot. Then I’ll put the credits between the two pictures. (Credits pix removed when I prepared 2019 blog posts for printing into personal blog book). I’ll make an occasional comment, but mostly you can just see them for yourself. The pictures are presented in no particular order, and the pictures should all be clickable to enlarge.


How cute is this???


Louise, this one is for you!


This next one, Ladies of the Sea, was my favorite. All the rigging lines are hand embroidered.


This quilt won first place in the Youth (18 and under) category.


That’ll do it for now - I hope you enjoyed them as much as I did. I’ll do a second post with some more quilts in a day or two.

Tomorrow I’m meeting with Emily Bailey from Quilty Hugs (one of the Hands2Help charities) to hand off some donation quilts. I’ll also be doing a separate blog post about that this week, as well as my first quilt finish of May.

Saturday, May 4, 2019

May: Orange Scraps and Green Backyard!

It’s been another busy week here at the Kizerian homestead. We’ve had weather appropriate for all 4 seasons (in one day), which is not unusual for the Salt Lake Valley. The garden is all planted, Bruce’s birthday was yesterday (I made him a homemade cherry-rhubarb pie), and the quilt show is in town - UQSM - The Utah Quilting and Sewing Marketplace. Utah’s only show on the national quilt circuit. More about that later.

Let’s talk about the Rainbow Scrap Challenge, since this is Saturday and our weekly link up for Scrappy Saturday over at Angela’s blog. The RSC color for May is orange. Woo-hoo! I loves me some orange!

First off was the usual work with my selvages. Here we have four selvage and low-volume four-patches sewn into one large 16” block.


And here are the first five (of nine) big blocks. I know, I know; pretty underwhelming. And sorry/not sorry for the bad picture.
First, I didn’t bother to trim or press them (and I do store them folded because they are so large). Second, when they are all put together in a top, there will be some sort of sashing. I’m thinking something  very bright and outrageous, but who knows. When the Shop Hop rolls around at the end of the month, I’ll be on the lookout for potential sashing fabric.  
This is the quilt that *may* be bordered with my bitcoin blocks. Overall, it’s going to take a lot of doctoring to make these yawn-worthy blocks into a decent quilt. Let’s face it; it can’t get any worse, so it can only get better!


Moving along, we have the crumb blocks, which I sewed into four Crumbcake blocks. I had sixteen of the crumb blocks already, so I didn’t need to sew any more. I just sashed these with the black and called it good. Now I need to come up with a new project for crumbs...


And here are one of each color of the Crumbcakes blocks. I love how this is looking! The final quilt will have 30 of these blocks. I only have three more little crumb blocks of one color to make. That will happen in June, regardless of June’s RSC color, because this one is slated for a June finish.


And I finished my orange tumbler row too. It alternates a selvage tumbler with a solid fabric scrap (in orange) tumbler. A long row isn’t very photogenic, so I went ahead and sewed it all, then added it to the other rows sewn sew far. I’m liking how this is looking, too.


There will eventually be a pink row above the red, then two blue rows, a purple row and who knows what else. I’m thinking I may add a gray or brown row, too. After trimming the sides, there will be a white stop border and another, probably solid border around it to bring it up to a good size.


I’ve mentioned a couple times about the pollinator habitat we (mostly Bruce, but I helped a bit) built for the backyard. Here it is!


The purpose is to provide plantings and hidey-holes that bees and other pollinators like. There are African daisies to begin with. They’re an annual and will die off in the fall, but I have also planted (smaller and behind them) coneflower. The coneflower will be larger next year and take over the work of the daisies. Then there is also dill, oregano, tall grasses, globe thistle, sage, and about 4-5 more little plants.


The bamboo sticks are hollow (at least to the nearest joint). Bees like to nest in them at the end of the season. That’s also the purpose of the drilled holes in the wooden block, below.


On top of the wooden block is a little ceramic bee skep birdhouse. I have a matching cookie jar and napkin holder that I use indoors in the summer. We found the three pieces at a flea market in North Carolina back in 2006. I’ve never really had any specific use for this birdhouse thingy. Whether it is ever used in a functional way or not, I think it adds a real CUTE factor to the habitat!

The pollinator habitat sits in the southwest corner of the backyard, facing east as directed. It could also have been facing south, but not in our garden. The trellis holds a trumpet vine that bees and hummingbirds love, but it’s early spring yet, so there’s nothing there yet. If you’re interested in making one of these for your yard, the free plans are HERE.


And in the week since I took the above photo, the neighbor’s lilac bushes have gone bonkers. They give the backyard such a heavenly scent. And the butterflies (we had a large migration pass through last week) love them!


The alliums are just opening up in the little garden area under the laden apricot tree. This is where Boomer is buried. And behind Boomer’s “headstone” is a hollyhock that seeded from the other side of the tree. We’ll take any volunteers! It will bloom about mid-summer.


This is the same bed on the other side of the tree. Mr. Pelican guards the irises and the hollyhocks. The irises were transplanted when I thinned out the front beds last year. They probably won’t bloom for a couple years. 


Our lone bird feeder (we have more in the winter, but cut it back to one feeder in the summer when food is plentiful for our feathered friends) is located on the patio, under the awning and inside the lattice. The grape vines that will soon cover the lattice are just beginning to leaf out.


And here’s the patio, all set up. The white wicker got a fresh coat of paint this year and new cushions. The macaw (I call it a parrot, but I think it’s supposed to be a macaw) also got a touch-up job on his paint.


My granddaughter Lauren and I originally painted “Ringo” (that’s what she named him) in August of 2017. But he was always being knocked over by the breezes because he is tall and thin. It scratched up his paint and chipped some of his top feathers. So I asked Bruce to fashion a base for Ringo, and he did a real nice job! Now, with a nice base, repainted feathers and talons (orange instead of gray), Ringo is ready for a coat of varnish - and some socializing on the patio!


In the next week I’ll be showing lots of pictures from the quilt show I mentioned earlier - probably over a couple posts. And some front yard garden pictures. Have a great week!

Wednesday, May 1, 2019

OMG - One Monthly Goal for May

Once again it’s time to declare our One Monthly Goal (OMG) for May over at Elm Street Quilts. Patty does such a great job of running this fun goal-setting program. I love having the challenge every month to set a personal goal and then working to get it completed by month end. It’s so motivational! And when we do finish a goal and share a picture of our finish, we are eligible for one of the monthly prize drawings. Having a carrot dangled in front is certainly an added bonus (wink). I’ve never won a prize, but that’s OK; I feel I’m a winner every month when I accomplish my goal.

For May, my OMG is to stitch these string blocks into a quilt. I need 120 of the blocks, and will have to sew the final 20 of them first. Each component block measures 6.5” (unfinished). Four will be sewn together to make a 12” (finished) star. Then they’ll be set 5 across by six down for a final quilt that measures 60x72”. 


My goal is to not only finish the blocks (already in progress) and top, but to get it quilted and bound by month-end. I do have one quilt to finish up for Hands2Help before I get to this, and we are tentatively planning a weeklong trip to Colorado later this month to visit family. We’ll see how that goes. But either way, it’s totally do-able.

My April OMG of finishing the Good Fortune top was accomplished, and today I basted the top. I’ve had lots of help this week in the sewing room from Darla. Here she is, helping me sew some of the string blocks. 


And she was invaluable in helping me pin baste Good Fortune, as you can see.


With her help, the quilt did not fly away. And she kindly moved her paws when I needed to baste around her. What more could I ask?

And don’t forget - I’m depositing some of my precious furs on your quilt, too!