Hi all! And welcome to Crazy by Design! Mari, who is hosting the Hands2Help quilt drive this year, asked me if I’d be willing to share an easy quilt tutorial with you. By now most of us quilters are probably familiar Hands 2 Help, with the long-running annual drive in the US and Canada to collect quilts for worthy children’s (and other) charities. More about this wonderful quilt drive can be found HERE.
In the past eleven years, H2H has been hosted by Sarah of Confessions of a Fabric Addict. However, due to personal health reasons, she was not able to host it this year, so my friend Mari of Academic Quilter stepped up to the plate. This is the twelfth year of quilters coming together!
Today I’m going to share with you a simple quilt that is used in Quilts for Kids chapters throughout the United States. You can visit the national QFK website or our local (Salt Lake) chapter website to get the pattern. OR you can just read along here instead if you like, because I’ll show you AND give you lots of alternative ideas to use up those scraps and whip out a cute kid quilt in no time!
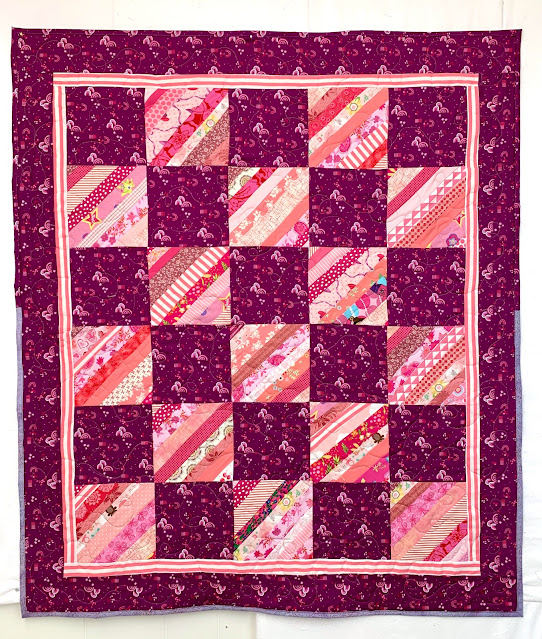
First, let me show you what the finished quilt looks like (my variation):
Those who are familiar with my blog know that I love string blocks, and since I always have lots of those on hand, I decided to use 15 of them in this quilt. All the blocks are cut at 6.5” and finish at 6” in the quilt. Now, string blocks may not be your thing, as they are time consuming. So let’s back up and insert some other alternatives for those contrast string blocks.
This is the same quilt pattern, sewn with two alternating fabric squares; 15 of the blue print fabric and 15 of the white print.
Or you could mix blocks; plain and nine-patch, plain and crumb blocks, plain and four-patch blocks.
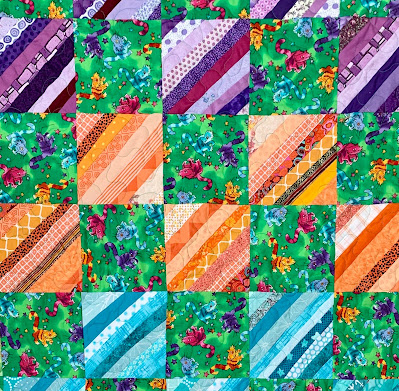
Here’s a quilt with several colors of string blocks that match the main fabric.
Or find a fun 1-yard cut of fabric in your stash that has lots of contrast color possibilities, like the bright cat on black fabric shown below.
*****************************
So, let’s get to the basics of the pattern. This is the fabric you will need:
1 yard main (feature) fabric 15 blocks @ 6.5” unfinished OR 5/8 yard of alternating fabric ¼ yard (NOT a fat quarter) of contrast fabric for inner stop border
Cutting:
Cut your main fabric into three WOF (width of fabric) strips measuring 6.5” wide. Subcut those strips into 15 blocks measuring 6.5” square. There will be leftovers.
From the remaining main fabric, cut four WOF strips at 3.5” wide.
From your alternate 5/8 yd piece, cut three WOF strips at 6.5” and subcut into 15 blocks at 6.5” OR use 15 blocks (crumb, four- or nine-patch, or string blocks) at 6.5”. If you have some ready-made blocks in your stash, this is a real time saver!
From the contrast fabric, cut four WOF strips at 1.5”
 |
| Top L-R: 15 Main fabric squares, 15 string blocks, Four 3.5" WOF strips Bottom: Four 1.5” WOF contrast strips |
Sew your 6.5” blocks together in alternating fashion, five blocks across by six blocks down. At this point it should measure approximately 30.5 by 36.5”.
Add your 1.5” contrast strips first to the sides, then to the top, trimming to fit. Add the final main fabric 3.5” borders to the sides and top and trim. That’s it! Just add your backing, quilt and bind.
Another time- and fabric-saving tip that we use in many of our Quilts for Kids quilts is the fold-over binding. The best tutorial I’ve found for this easy and quick method is here at Cluck Cluck Sew. And do remember that most, if not all charities prefer a machine-sewn binding. Charity quilts are often subjected to frequent launderings.


